| Step | | Procedure & Parts & Tools |
| 1 |
|
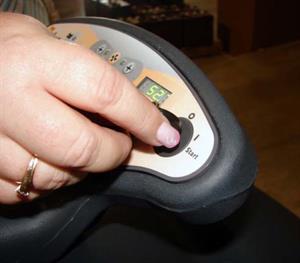
First perform the self test for the vac motor, brushes, and squeegee. Turn the key to the off position.
|
| 2 |
|
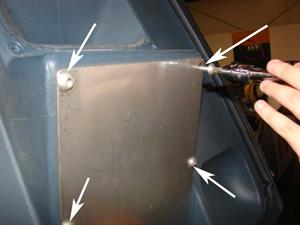
Using a T-30 torx socket wrench, remove the 6 screws from the vac motor plate.
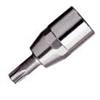
| Torx T30 |
|
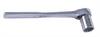
| Ratchet |
|
|
| 3 |
|
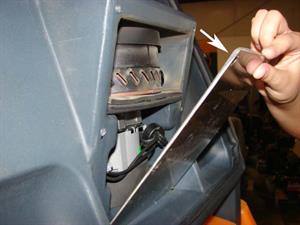
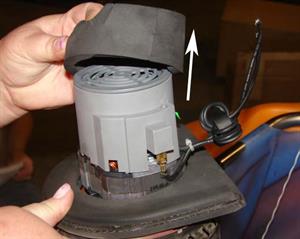
Remove the vac motor cover.
|
| 4 |
|
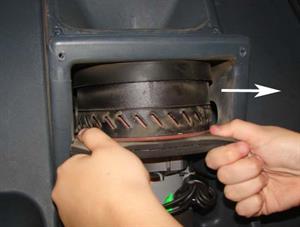
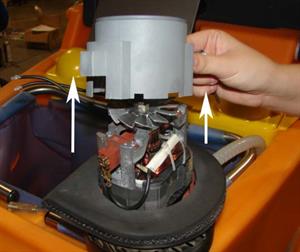
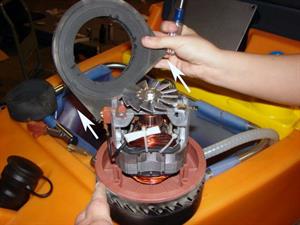
Slide out the vac motor collar to remove the vac motor from the machine.
|
| 5 |
|
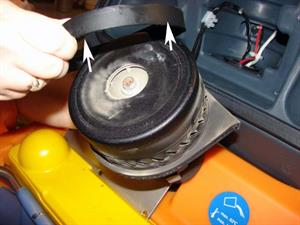
Remove the rubber vac motor gasket.
|
| 6 |
|
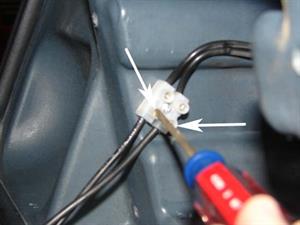
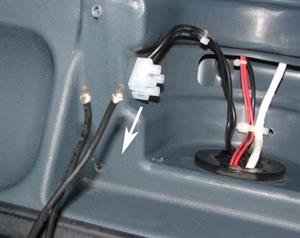
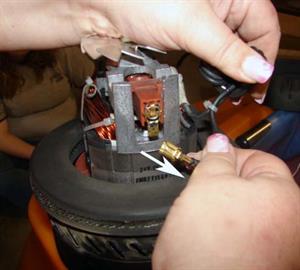
Using a small flat head screwdriver, loosen the 2 screws holding the wires that go to the vac motor.
| Screwdriver-flat tip |

|
|
| 7 |
|
Pull the wires gently to free the vac motor from the machine.
|
| 8 |
|
Remove the foam gasket from the bottom of the vac motor.
|
| 9 |
|
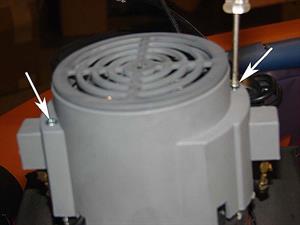
Using a small Phillips screwdriver, remove the 2 screws from the gray plastic fan cover.
| Screwdriver-phillips |

|
|
| 10 |
|
Remove the gray plastic fan cover from the vac motor.
|
| 11 |
|
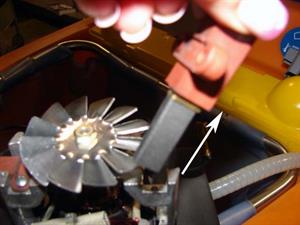
Pull to disconnect the wire connector from the carbon brush.
|
| 12 |

|
Using a Phillips screwdriver, remove the 2 screws from the carbon brush bracket.
| Screwdriver-phillips |
|
|
| 13 |
|
Pull up on the carbon brush to remove it. Note: You only need to remove 1 carbon brush to remove the vac motor collar.
|
| 14 |
|
Remove the vac motor collar. Reverse process to install a new vac motor.
|